JPEG image file, a format commonly used for photographs and other complex still images on the Web, is an image that allows for lossy compression. Lossy compression reduces the file by permanently eliminating what looks like redundant details. It uses certain ‘tricks’ based on how the human visual system works to take away information, and the removing information can be barely seen. However, it does save bytes. As a result, fine details in certain areas of the image are obliterated. However, if your image is already in a high resolution, this change is difficult to distinguish. Which explains why we always try to capture images at the largest resolution. Compressing JPEG images downgrades the quality of the image. However, there’s a sweet spot where you can make a trade-off between file size and image quality. This article will provide you with an idea of how much image degradation is acceptable versus what file size is too big.
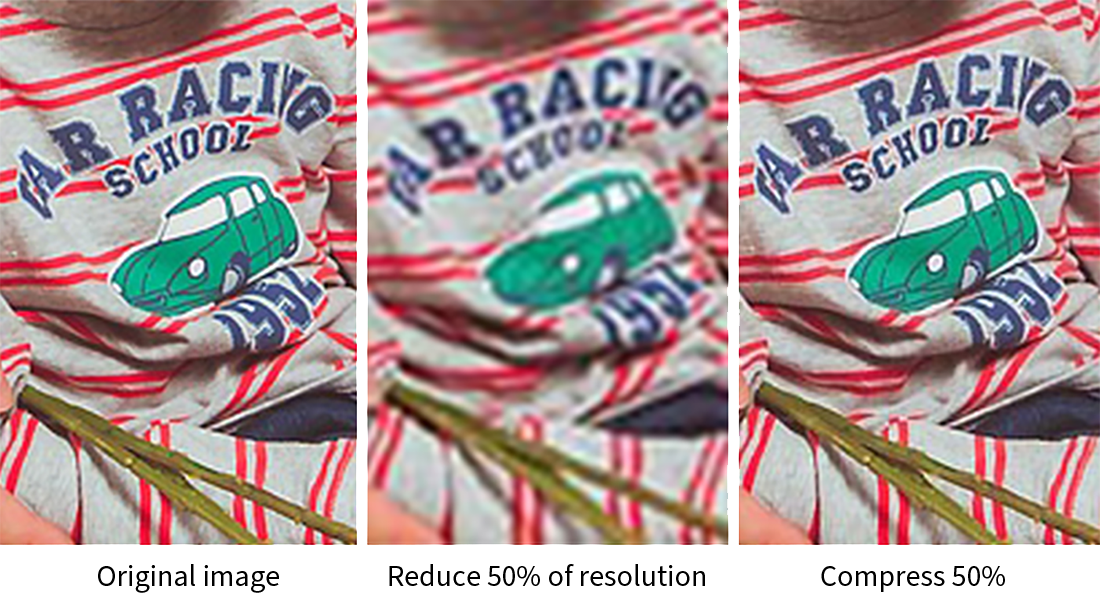
Firstly, you may wonder what the difference is between reducing ‘resolution’ and ‘file size.’ Image resolution, generally described in pixels per inch(PPI), refers to the number of pixels in an image. The more pixel information it has, the higher resolution it is, which results in a crisp image. In summary, pixels have no set size, they just expand or contract to fill the space available. Let’s take a look at the images below.

These images have a different number of pixels but they fit the image size by expanding each pixel. As a result, the resolution of each image is significantly different. If you reduce resolution, the number of pixels will be cut down resulting in a pixelated image.
However, when you compress file size, a different algorithm will be applied. It reduces the size of the image without losing a single pixel from the original file. It adjusts the quality of the image by discarding unnecessary data, for example, limiting the colors used in an image; fewer colors mean there are less data to run around. Let’s make this easy to understand.
Before compressing an image, each pixel has a different value; 0.12, 0.1234, 12.1, 12.123, 21.12, 21.1234. After you compress the image, the values are 0, 0, 10, 10, 20. Previously, the image had 6 values, whereas the following compression, only 3 values are present in the image, which saves up 50%. This transformation cannot be reversed, but it will improve the speed in which it takes to load your image. In short, the number of pixels remains intact. Instead, detailed information will be taken away when you compress the image.
Of course, each person has a different standard of acceptable image quality. You may need to find the sweet spot by experimenting with the quality and size to discern what ratio will yield the best savings at the best quality levels. To save you time and trouble figuring this out, use the table below as a guide. You can also compare each 3D virtual tour according to the different compression rates. As an example, take a look at the image quality comparison in the 3D tour below. (Click this link)
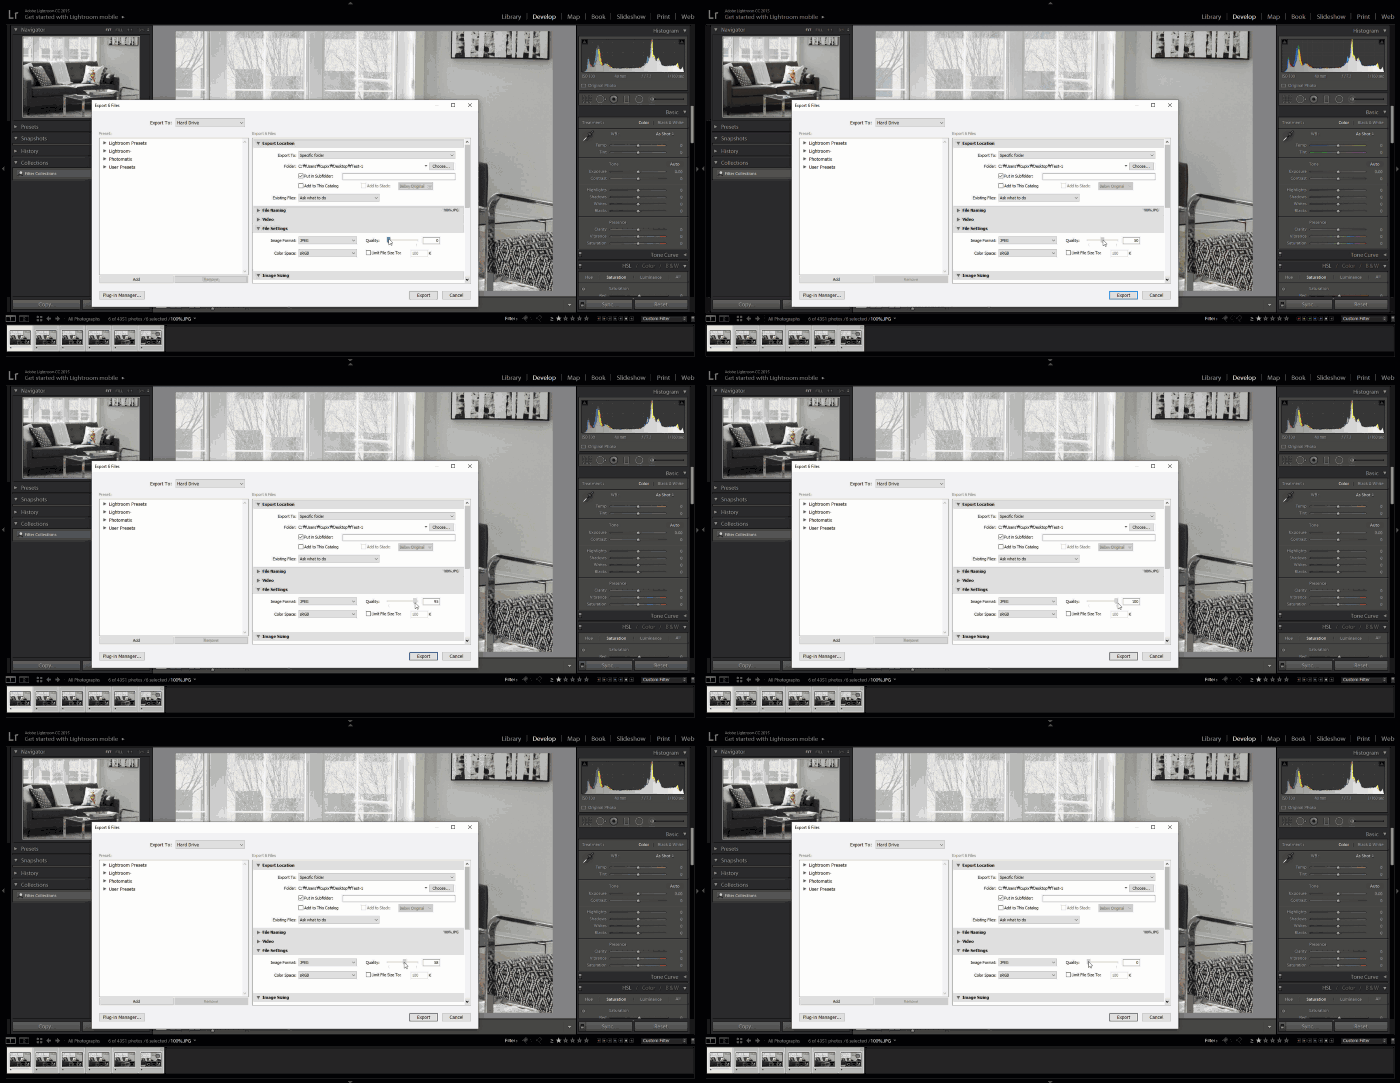
Export Quality Setting in Lightroom
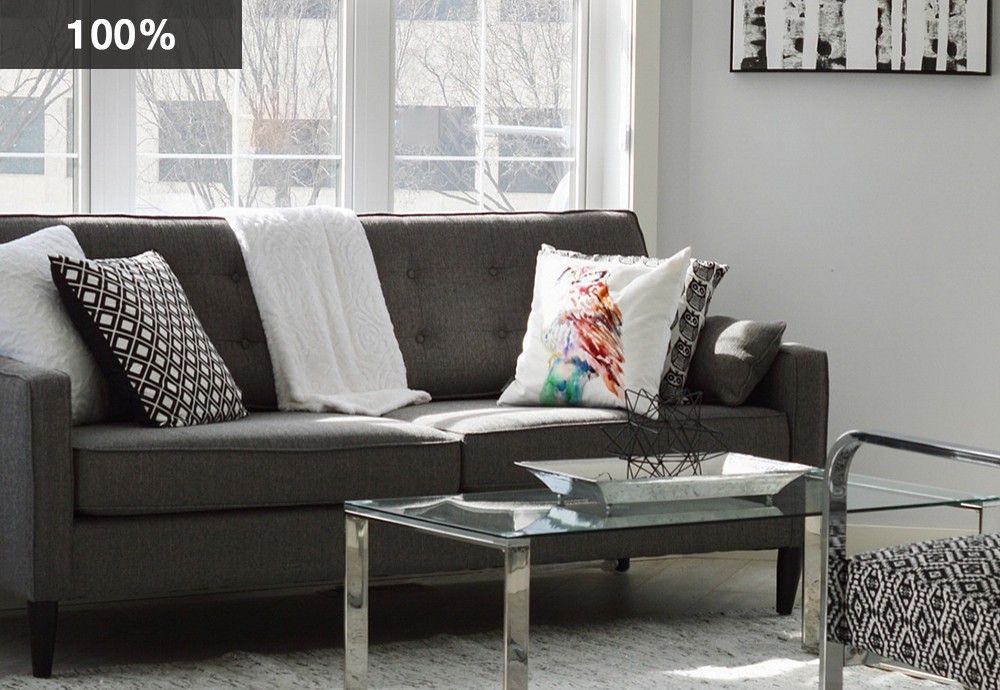
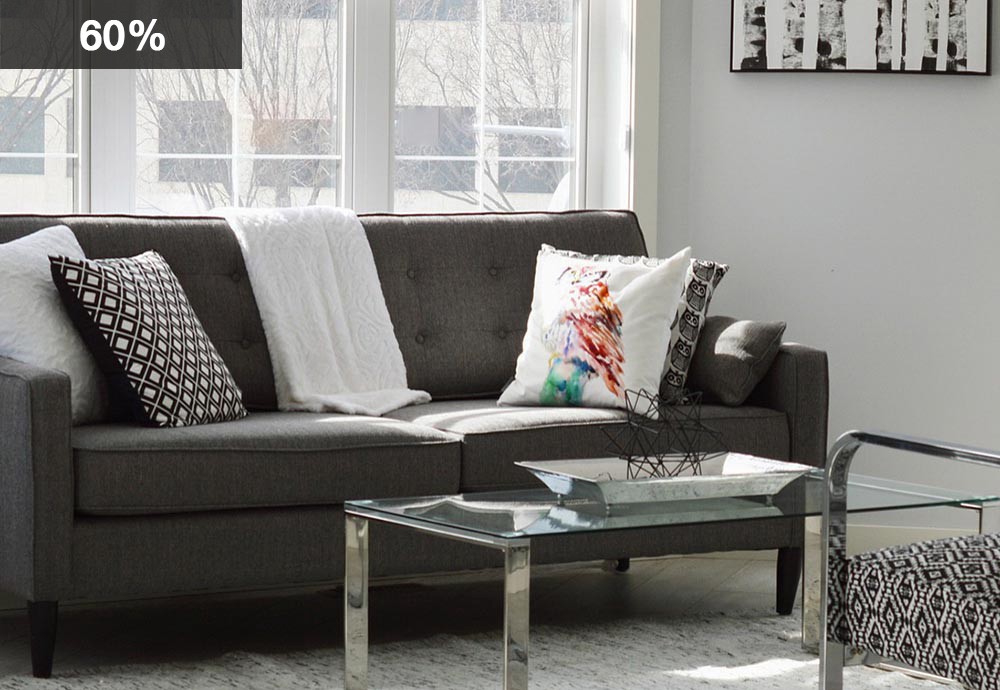
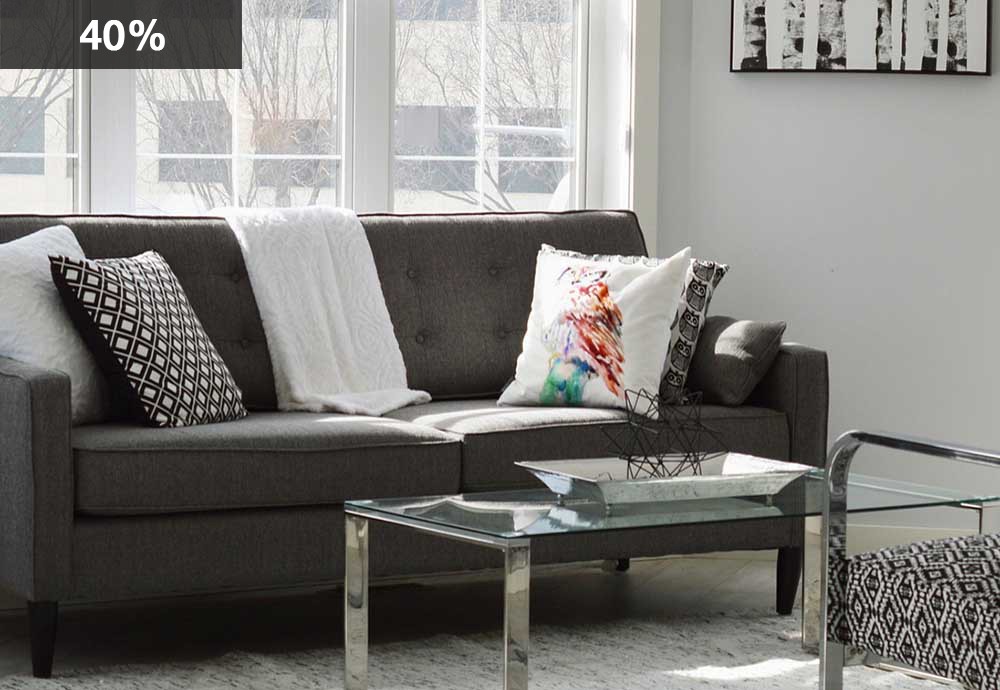

As you can see in the above images, by the time you get down to compression of 40%, you can begin to see noticeably different pixelated colors and halos. Therefore, the recommended compression rate is about 40%.
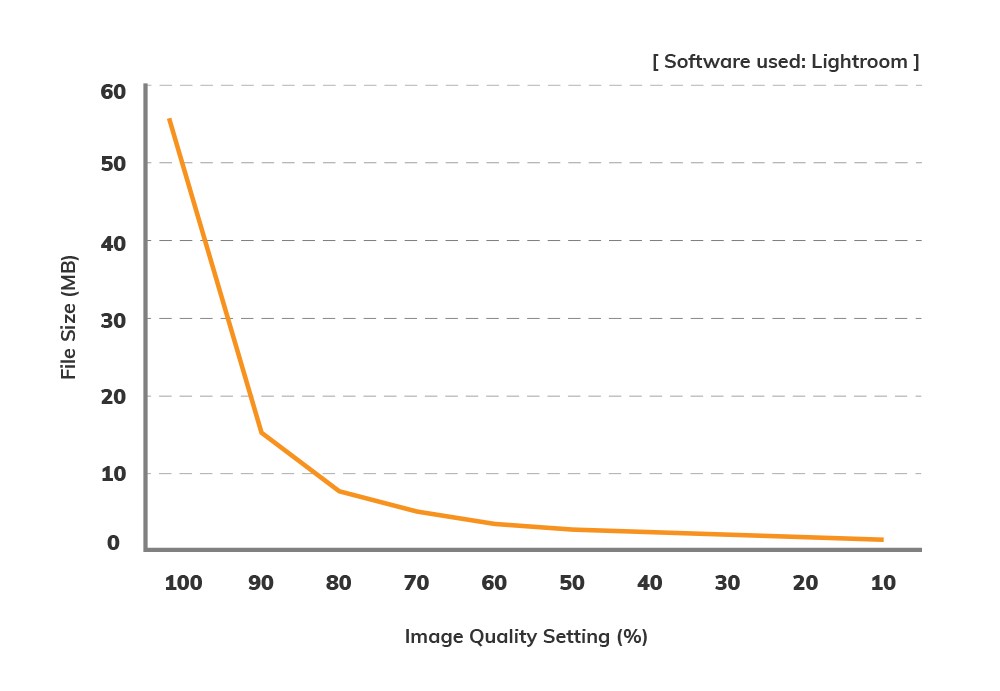
This inverse proportion graph shows a correlation between file size and image quality. As you can see, the file size drops drastically when the image quality decreases from 100% to 90%. After you reduce the image quality to 90%, the slope keeps getting smaller and smaller as you move to the right. For that reason, the quality of the image is more important than the file size when the image quality level is smaller than 90%.
You can use PTGui to reduce the JPEG file size when generating panoramic photos. Alternatively, you can also use Lightroom or Photoshop. It should be noted that you need to compress photos individually in Photoshop. You can also use free web apps such as Toolur to reduce your JPEG file size.
After stitching your 360º panoramic photos in PTGui, you can decide on the JPEG output quality. The quality ranges from 0 to 100 and you can insert. your desired value. It is recommended that you select a range between 50 to 100 percent.

In Lightroom, you can resize multiple images at once. Select an image or all the images you want to export out of Lightroom. Go to File > Export (Ctrl+Shift+E) and adjust a Quality slider or type the value. We recommend setting the quality between 40 and 80 percent for web and 3D virtual tours. You may want to select a higher value if you need to print out your files.
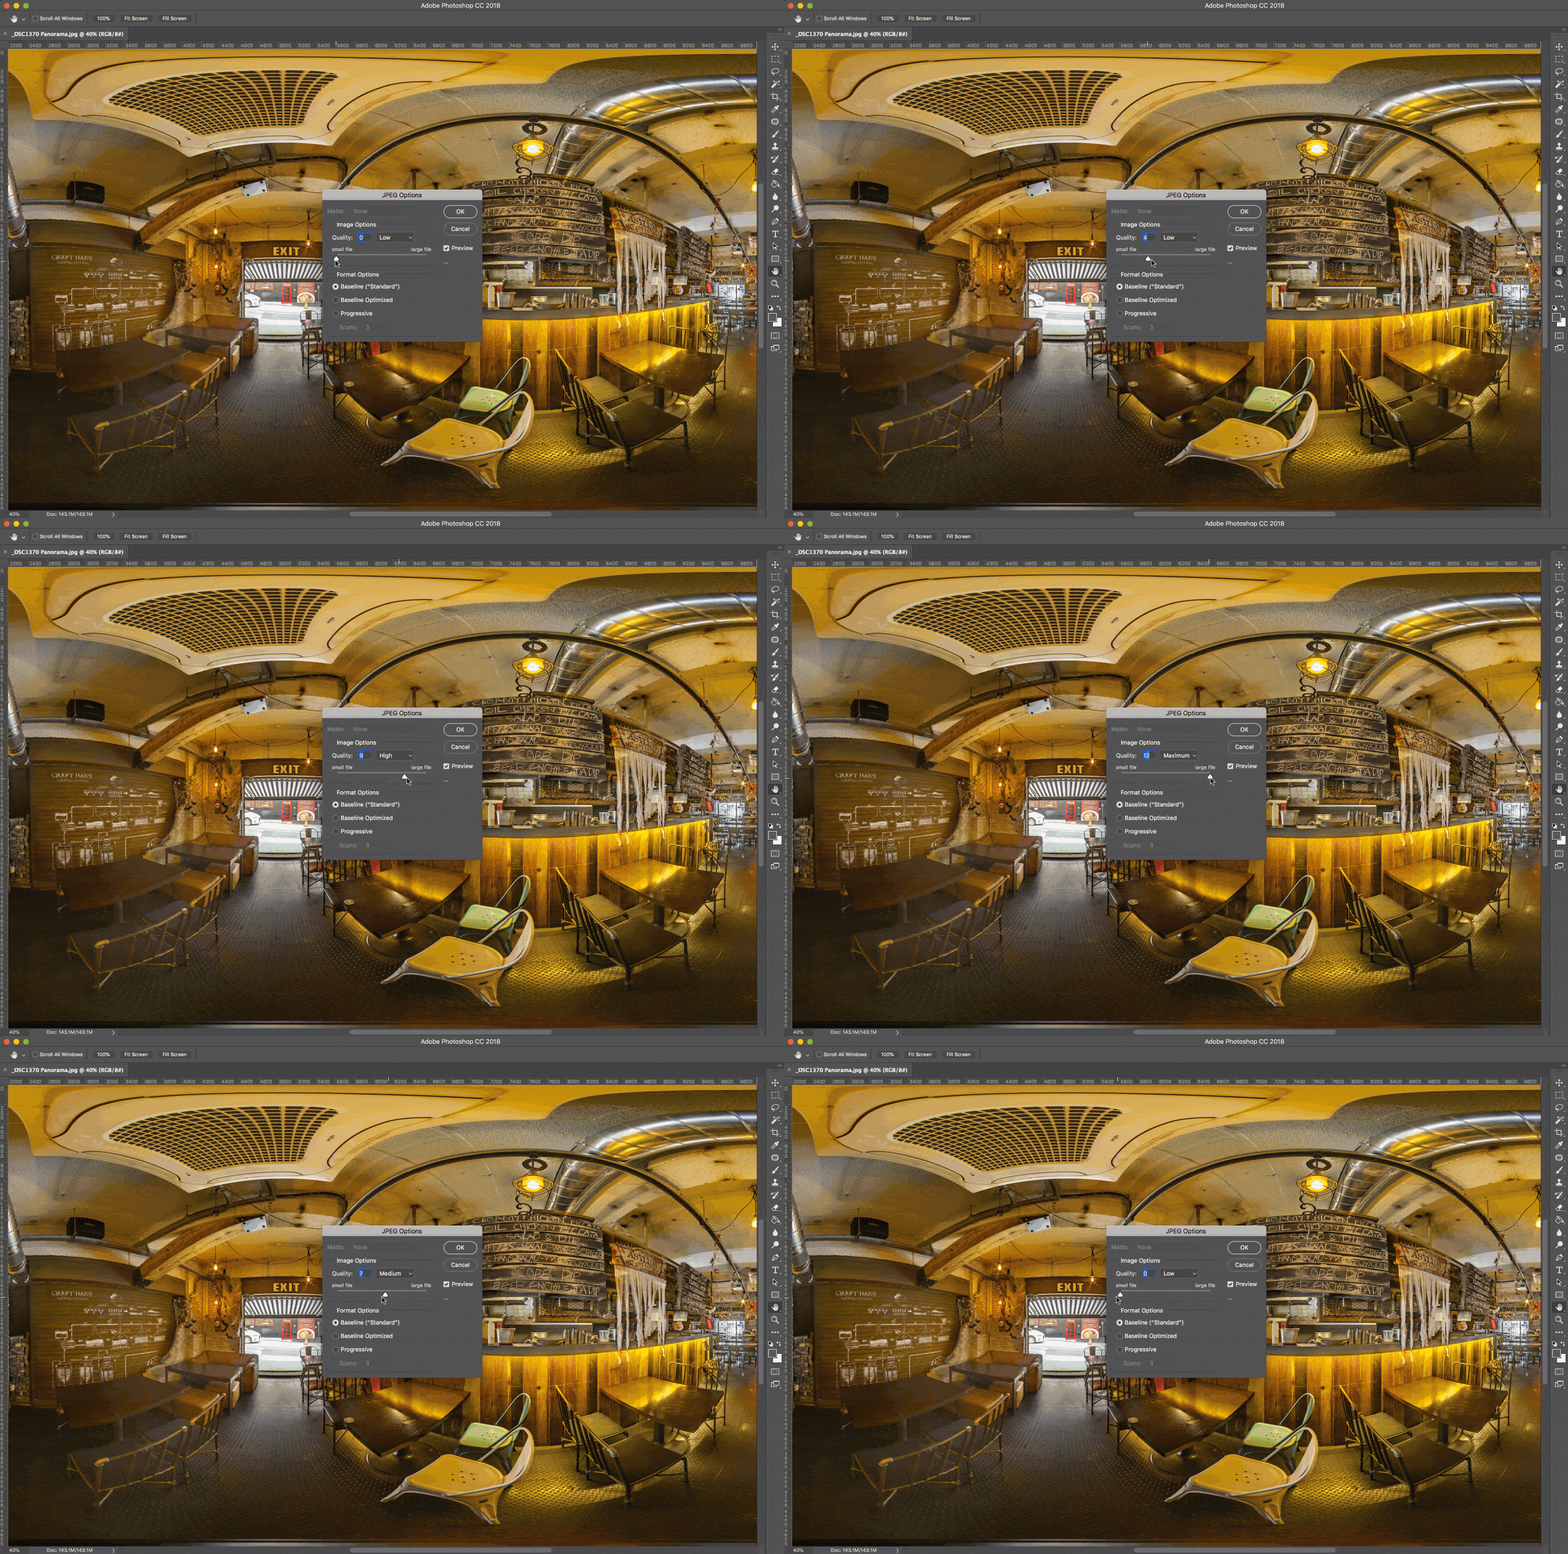
In Photoshop, you can determine your JPEG quality when you click save or save as. You can then choose your ideal image quality by adjusting the percentage scale, where you can select a number on the scale from 0 to 12. The recommended scale is between 4 and 7.

%401x.png)


